Spring is approaching – in theory – and many households are thinking about starting to raise chickens. Farm stores are starting to schedule their shipments of chick breeds and hatcheries around the country begin their ship dates very soon (or have already). Our homestead began our chicken tending journey in the spring of 2022, making us relatively new as chicken owners, but we have experienced and learned so much in the past two years of caring for our flock. I researched, read, and listened to podcasts, books, articles, and Pinterest posts before we jumped in, but learned that keeping chickens in the northwoods is a much different experience than other parts of the country.

Our Chicken Keeping Story
After we moved to an old farm, we decided we wanted to start our homestead life with chickens for fresh eggs. Neither my husband nor I had any experience with any type of farm animals at this point, other than visiting them now and then. I started researching what we needed to start keeping them, what breeds would be best for where we live and around families, how to train dogs around chickens, the best feed, shelter requirements, and more. I like to be as prepared as possible before taking on other living beings to care for, so this went on for a few weeks. We made a tentative plan to turn an old milk processing building into a chicken coop and started assessing what we would need to do to make it habitable. We hadn’t decided on what breeds we wanted to start with or where to get them, or really when exactly to start this journey.
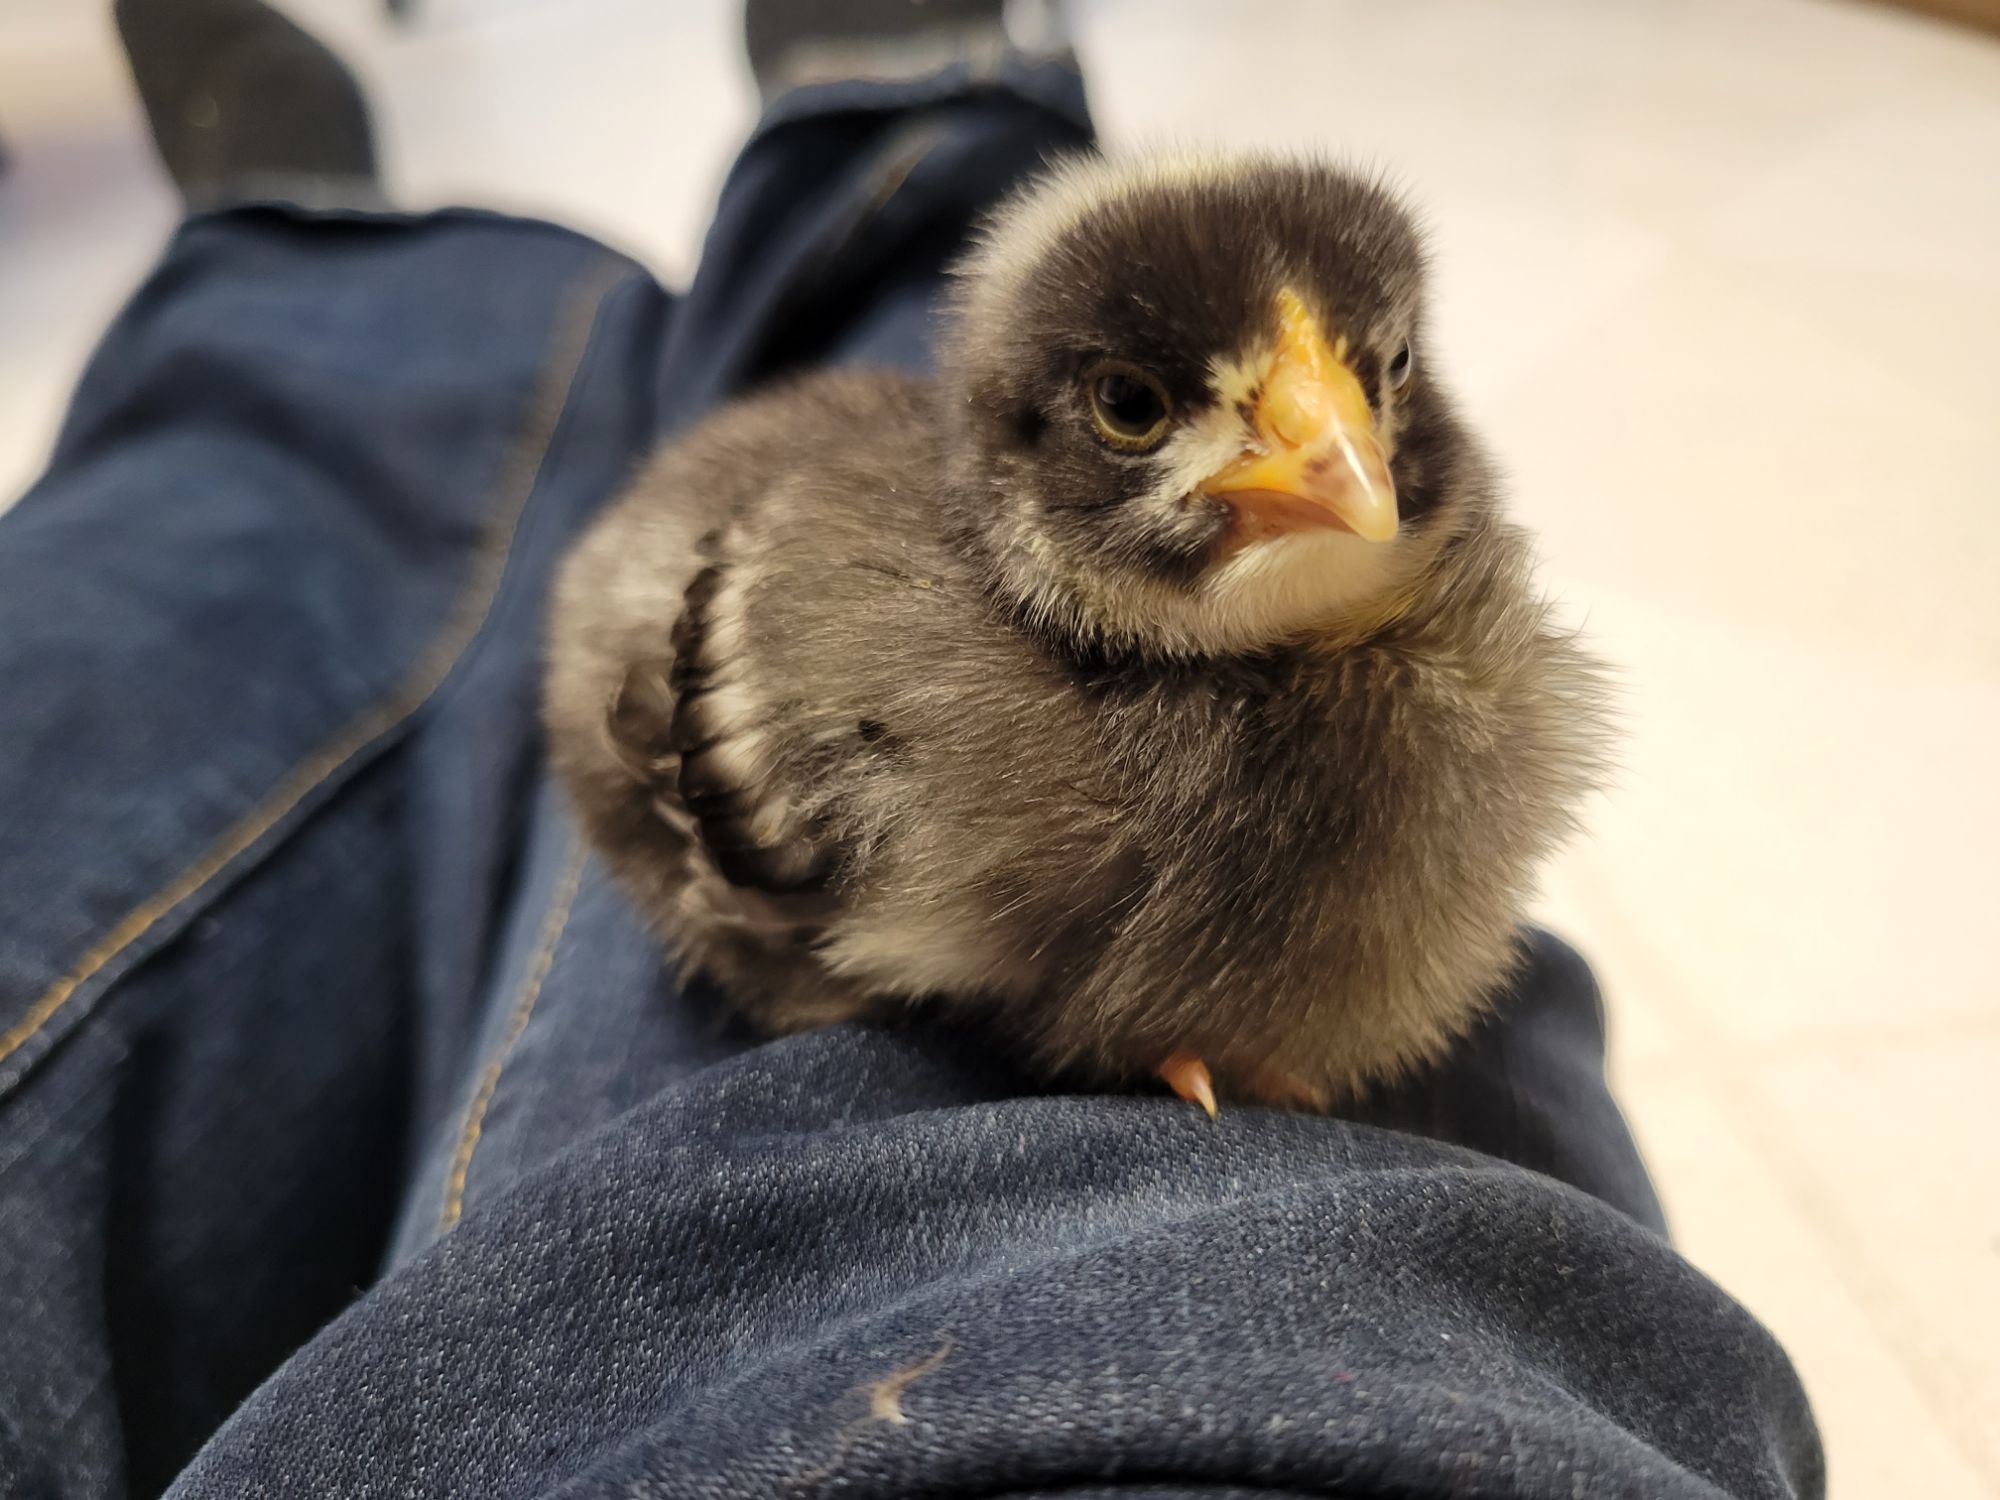
On Palm Sunday 2022, I found out after church that a very dear friend died unexpectedly and was quite upset. My husband decided heading to our local L&M Supply to see what chicks they had was what I needed, so off we went! Mind you, we did not have a brooder or any supplies at this point, which I do not recommend, but it is doable. We did some quick cell phone research on heat lamps, chick feed, water, supplements, bedding, and more, found a big Rubbermaid bin to use as a brooder, then hit the chick aisle. By the end of the afternoon, we were fully stocked with chicken gear and brought home 13 chicks instead of the 6 I had planned on (chicken math is a very real thing!) The breeds we began with were Buff Orpingtons, Black Mystic Onyx, Americanas, Isa Browns, a Red-Laced Wyandotte, and one unknown chick that looked lonely which ended up being a Plymouth Barred Rock rooster.

What Do You Need to Start with Chickens?
I really think getting chicks can get over-complicated, but there are some basics you will need.
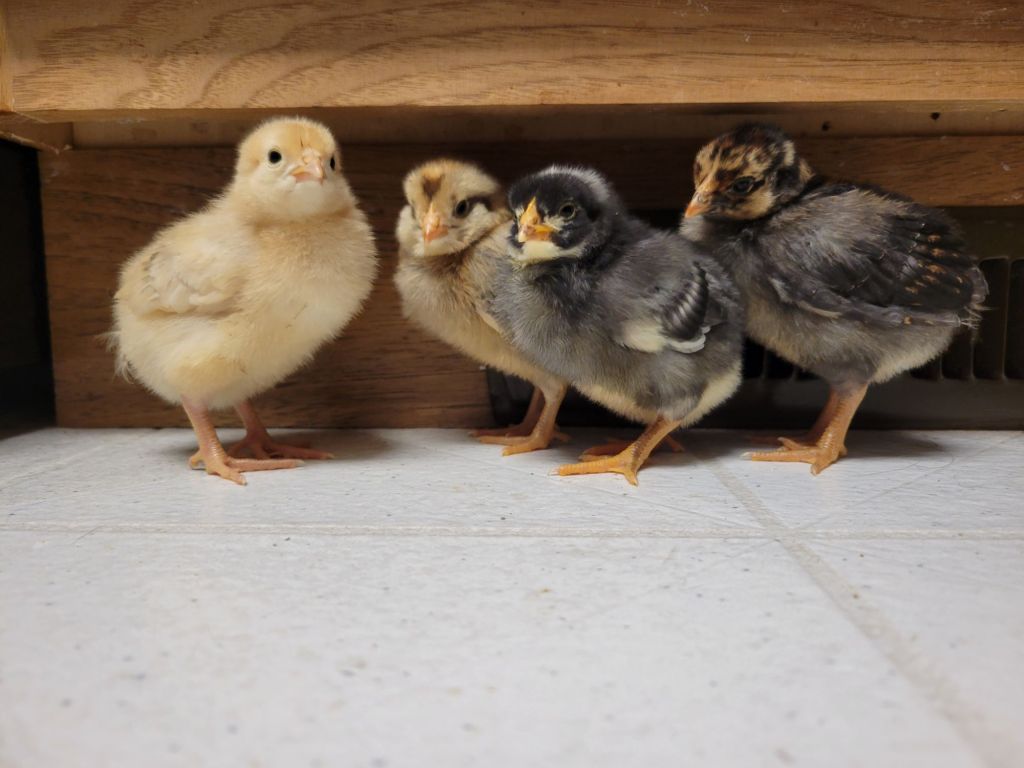
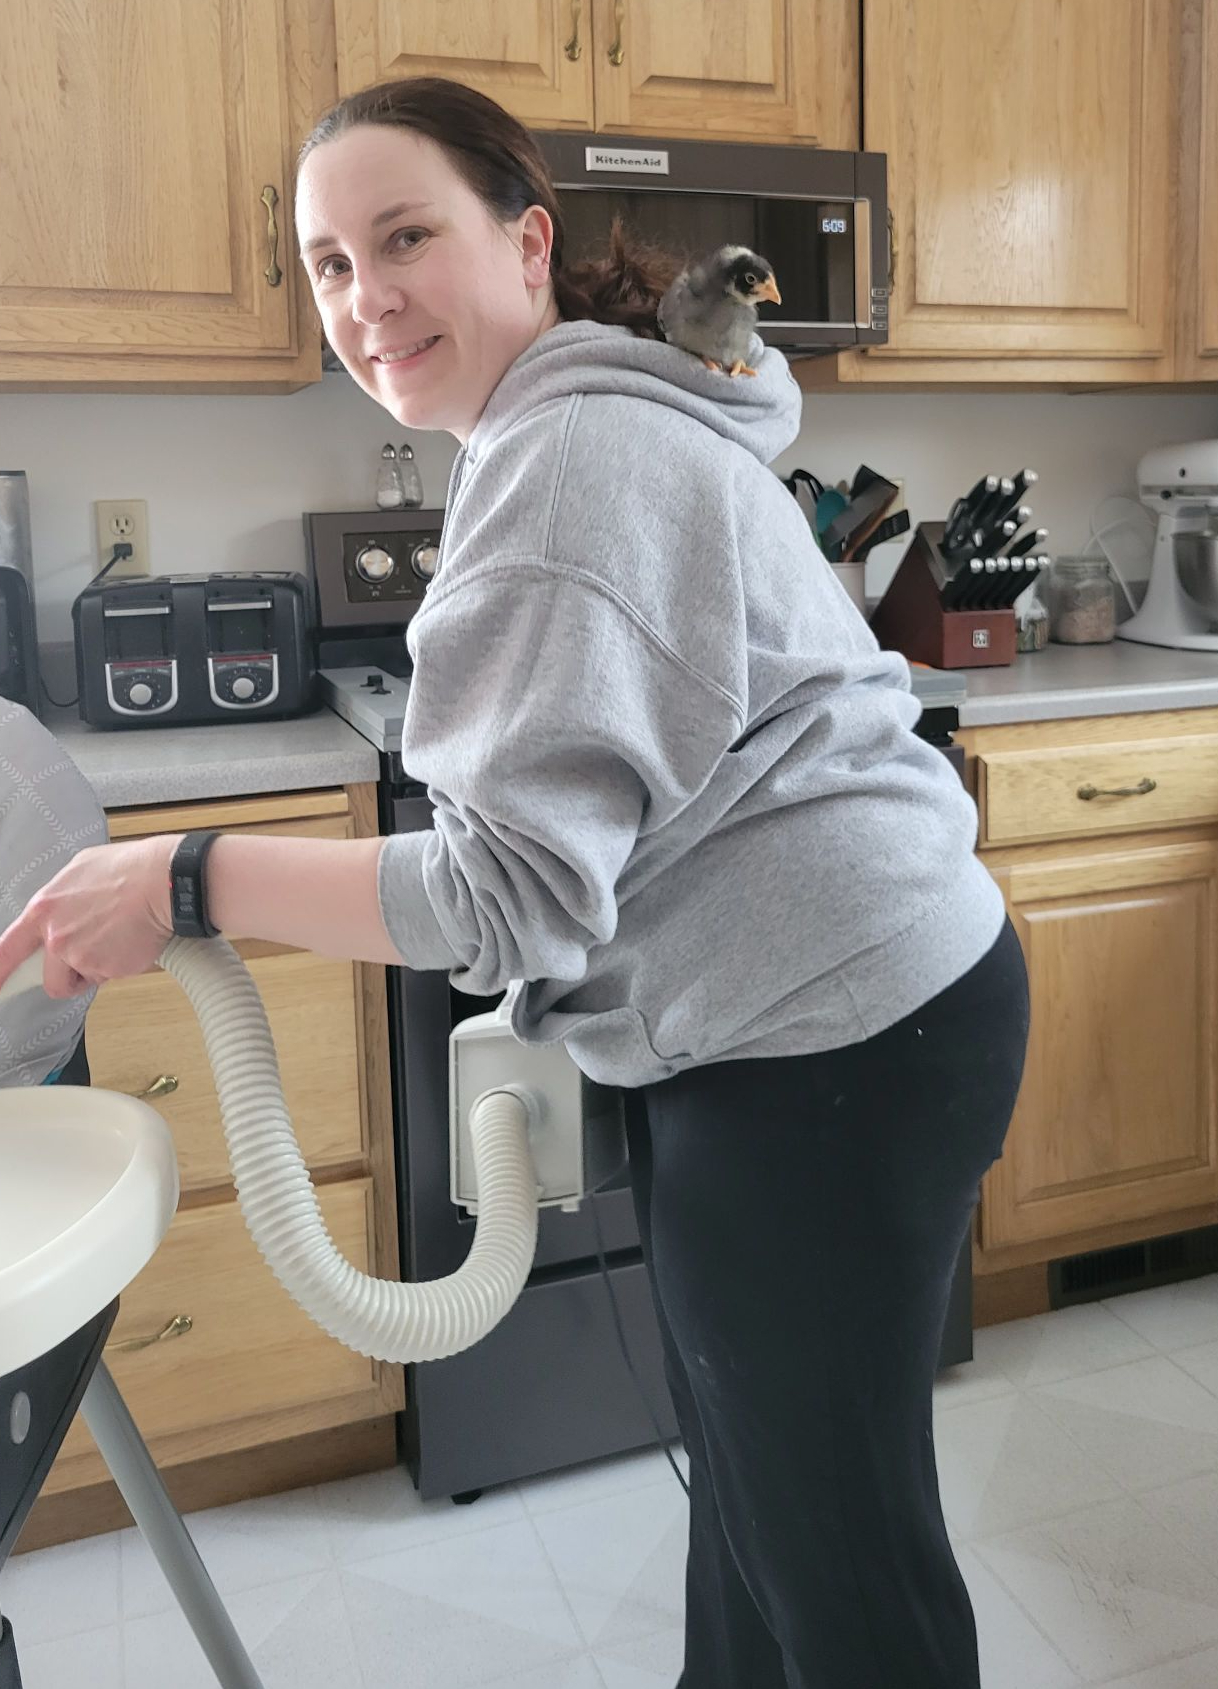
A brooder: a plastic tub, a pop-up play pen, a screen box, pretty much anything will work. It does not need to be fancy or expensive. Keep in mind the clean-up aspect and that you will need to have a heat source inside or attached to the brooder. Size will depend on how many chicks you are getting. We used a large plastic tote, lined it with newspapers, and put pine shavings on top of that. (Note that you should NEVER use cedar shavings with chickens as the cedar oil is toxic to them. We prefer to use the medium-size shavings, but there are various sizes depending on your preference.) You will want some sort of breathable top on the brooder, as the chicks will start flying out of it before you know it. We used a piece of chicken wire that just sat on the top of the bin.
Bedding: This is not a necessity for the chickens but makes it easier for whoever is cleaning the brooder! I have used a combination of thin carboard (like from cereal boxes), newspaper, and pine shavings. I like shavings as they help control moisture and odors, but they are not required. Not using them keeps the water cleaner as well!
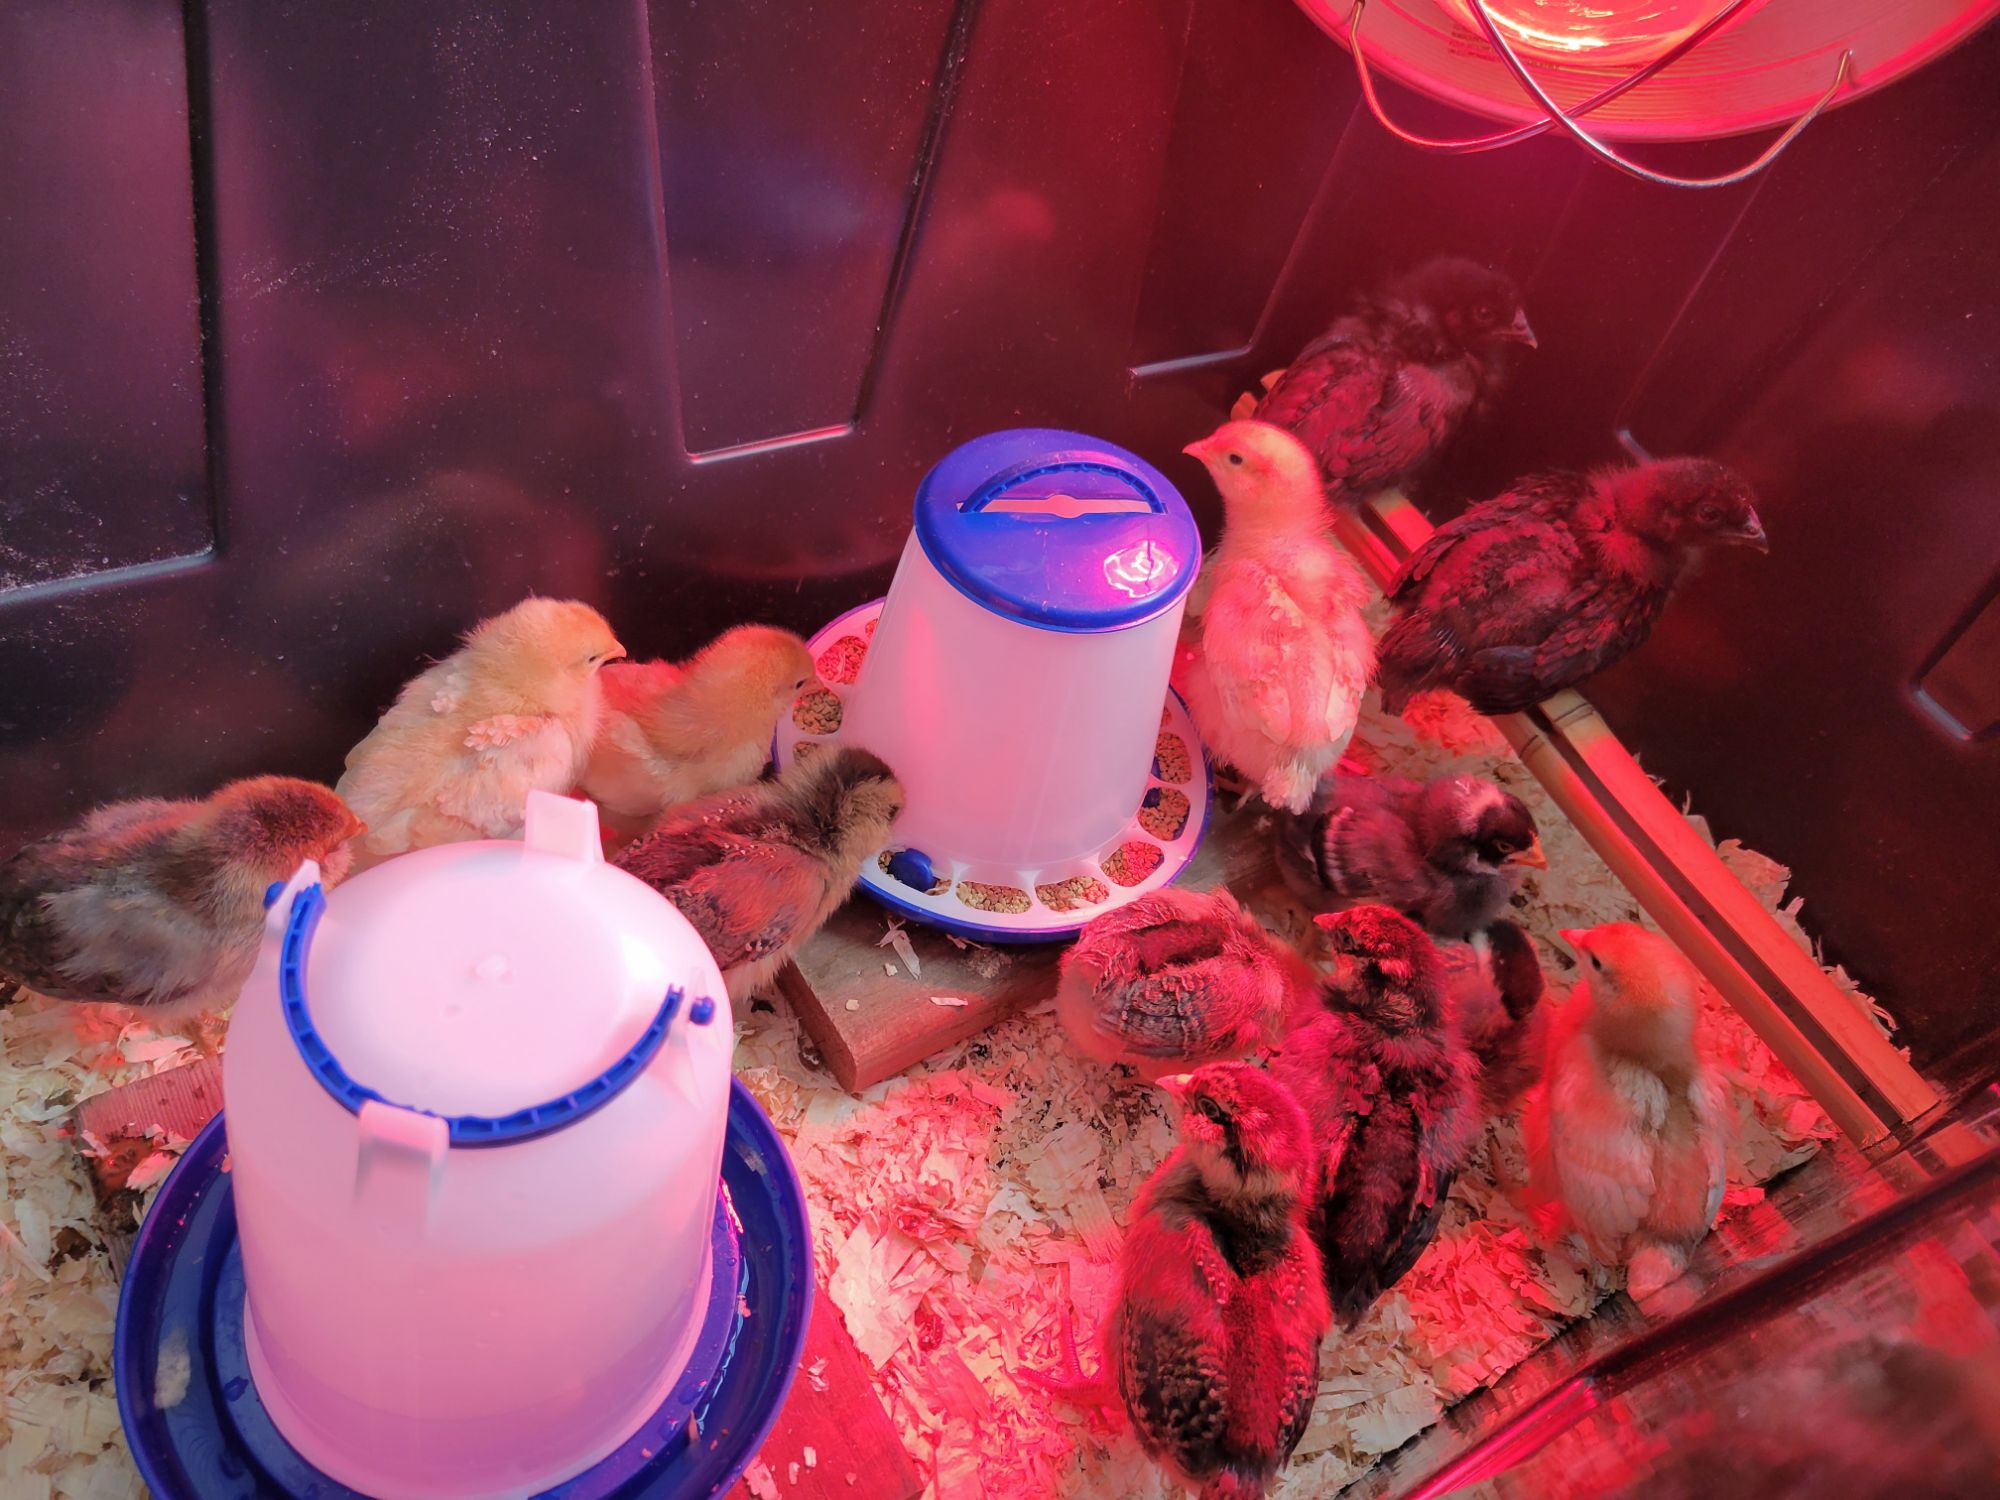
A heat source: Chicks need heat. We used a heat lamp, but in most cases I would suggest getting an adjustable brooder plate made for chicks. Heat lamps are a fire hazard if not used correctly and monitored closely – our chick brooder was in our kitchen with a camera on it 24 hours a day, so we felt safe using a heat lamp. Do your research and take precautions for the set-up you have. You will likely want to use something different once you move the flock into a coop.
Water: Clean, fresh water is VERY important when bringing chicks home. We also added some electrolytes to their water for the first week, and an herbal supplement for about a month after that. (Not necessary, but I wanted to give their immune systems a boost any way I could.) Be prepared to change the water frequently and clean out the waterer often. Chicks are messy and busy, and they poop anywhere and everywhere! You do not want them drinking water with poop or bedding in it. Be sure to use a waterer appropriately sized for chicks as they can drown – there are a LOT of options out there, along with many DIY ideas. Again, research what will work best for you and your set-up. We used a small plastic chick waterer and placed it on two chunks of wood to keep it off the floor of the brooder; this really helped keep the water cleaner.
Chick Feed: There is a difference in size and nutrition content between chick feed and layer or all-flock feed, and you definitely want to use chick feed for the first 17-18 weeks of life for your chicks. Their bodies need different nutrients for proper growth than a laying hen or grown rooster. There are many options for chick feed, including name brands and whatever brand your local farm supply store carries. If you did not have your chicks vaccinated, I highly recommend the medicated feed to prevent coccidiosis in your flock. This feed does not include any antibiotics and can save you a lot of headache and heartache.
Grit: Be sure to have very small grit available for your chicks while they are in the brooder. Chickens do not have stomachs to “digest” their food; it goes into the crop where it essentially gets ground up and mushed, which requires some sort of gritty substance. Once they have access to the outdoors they will eat rock and pebbles, but until then, or in the winter months when everything is snow-covered, you will need to provide the grit for their digestion process.
Appropriate Shelter: Chicks need a warm, clean, dry, and safe living environment. Chicks are susceptible to any number of ailments when they are small, so providing healthy living quarters is very important. In northern climates, we often have below-freezing weather well into May – a heat lamp or brooder plate is not going to be enough to keep chicks warm outside in a brooder. They need to be indoors for warmth, predator protection, and it is easier to spot when there is a health issue.
Considerations in Keeping Chickens in a Cold Climate
Every climate area has its own challenges with keeping pets and livestock healthy, safe, and productive. Where we live, typically winter weather begins in mid-to-late October and often lasts into May. These months can get very long and challenging depending on the year – we often get sustained air temperatures of –40*F for days and a time, or even just below 0*F for weeks. This can be rough on both the animals and humans! I really dug into the best way to care for chickens in this type of weather.
Once your flock has grown enough to move into their coop, there are other measures to take to keep them safe and healthy. Chickens are very resilient animals that generally handle cold better than they handle heat. The degrees of this are breed specific, so be sure to do your research. We chose breeds that do not have large straight combs (more susceptible to frostbite), are larger bodied, and aren’t known to get too crazy in confinement. I know other chicken keepers who keep bantams up here and other more “warm weather friendly” chickens, but I don’t want to have more work keeping them healthy and comfortable than I need to. What are the main steps to take to keep your chickens happy and healthy in cold climates?
Step #1: Make sure your coop is draft-free. Moving, cold air is one of the worst enemies of chickens. It can cause painful frostbite and respiratory issues. Check the coop itself for drafts and insulate where needed. We also wrap our runs with clear tarps in the winter months so the flock can be outdoors comfortably and out of the wind.
Step #2: Have ventilation in your coop. Your chickens will spend more time than usual in their coops in the colder, dark months, which means more poop, moisture, and mess. Proper ventilation is key for the health of your birds and for your humans who go into the coops. You will want venting toward the top of your coop to help keep the moisture down; be sure it is not by the roosts or nesting boxes where the chickens will feel a draft.
Step #3: Keep moisture under control. Moisture is not your friend when it comes to chicken keeping, and can make the coop very stinky and dirty quickly. It is recommended not to keep food and water inside the coop for various reasons (cleanliness, predators, etc.), but we do during the winter/freezing months. We have a metal waterer that sits on a metal warming plate which automatically turns on when temperatures are below freezing. Clean, fresh water is very important for your chickens no matter the season, so this should be a priority. We put down fresh pine shavings when the flock makes a mess of things and just freshen everything up.
Step #4: Have a coop maintenance plan. Our winter months can be long and bitterly cold, so we have to deviate from our usual monthly big coop clean-out days. It works since everything stays pretty cold or even frozen, so the smells and mess take a bit longer to set in. We do still try for once-a-month clean outs if the weather cooperates. Many chicken keepers opt for the deep-litter method (you just keep adding bedding, turn it, and it composts in the coop, then you clear it all out in the spring), but I found that I could never make it not stinky and gross. It is a matter of preference, just do some research and find a rhythm that works for you. Remember, the cleaner your coop, the cleaner your chickens and eggs!
Step #5: Provide supplemental heat when needed. This is an oddly controversial topic in the chicken world, and these are my thoughts on it. We brought these chickens to our land to provide us with eggs (and entertainment, to be honest), and like with any other living being brought under our care, we are responsible for their health, safety, and comfort. Yes, they are livestock that live outside, but I feel like almost any animal needs some extra heat when temperatures are at 0*F or much colder for a sustained time. I do not want to deal with frostbite on my birds’ combs, waddles, and feet – it is also very painful for them. I do not want to deal with freezing water or frozen, cracked eggs. Now, we are fortunate that we were able to easily run electric to both of our coops and install panel heaters; we put them by the roosts so the flock could warm up when needed. Not everyone has the option of electric in their coops, but there are lots of tips and tricks to provide an extra heat source for your flock in the coldest of months. Pinterest, YouTube, and Instagram have a plethora of information from chicken keepers providing heat and comfort to their flocks with no electricity.
Step #6: Break up the boredom. Chickens are naturally very busy little creatures who don’t like sitting around. If a deep freeze hits for days or weeks at a time and they are stuck inside, this can cause behavioral issues if not given some form of entertainment. Certain breeds are more prone to bullying and fighting than others, so I would recommend choosing breeds that are known to do well in confinement when required. You can buy chicken toys, but even extra treats, a cabbage on a string, throwing mealworms into bedding for them to scratch for, and other different “activities” for them will keep them busy and happy. Again, the internet is your friend for ideas!
Why Keep Chickens?
Chickens are amazing animals with more personality than I ever expected. They can recognize human faces, be trained, and are so entertaining. There is the added benefit of fresh eggs (or meat) you can collect daily and know your food is healthy and nutrient-dense. Our kids have learned responsibility and animal care practices through having chickens. It also makes your kitchen more sustainable – leftovers and food scraps can be turned into more delicious eggs!
Even with the challenges of owning livestock in a colder climate, our whole family has enjoyed adding chickens to our homestead. We currently have 33 laying hens and two roosters that live in two coops, and we hope to expand to some different breeds and some conservation breeding in the future.
I want to note that the vast majority of my chicken knowledge comes from the Coffee With the Chicken Ladies podcast. Chrisie and Holly have over 26 years of chicken experience and have some amazing chicken experts on their weekly podcast. I highly recommend listening to this one!